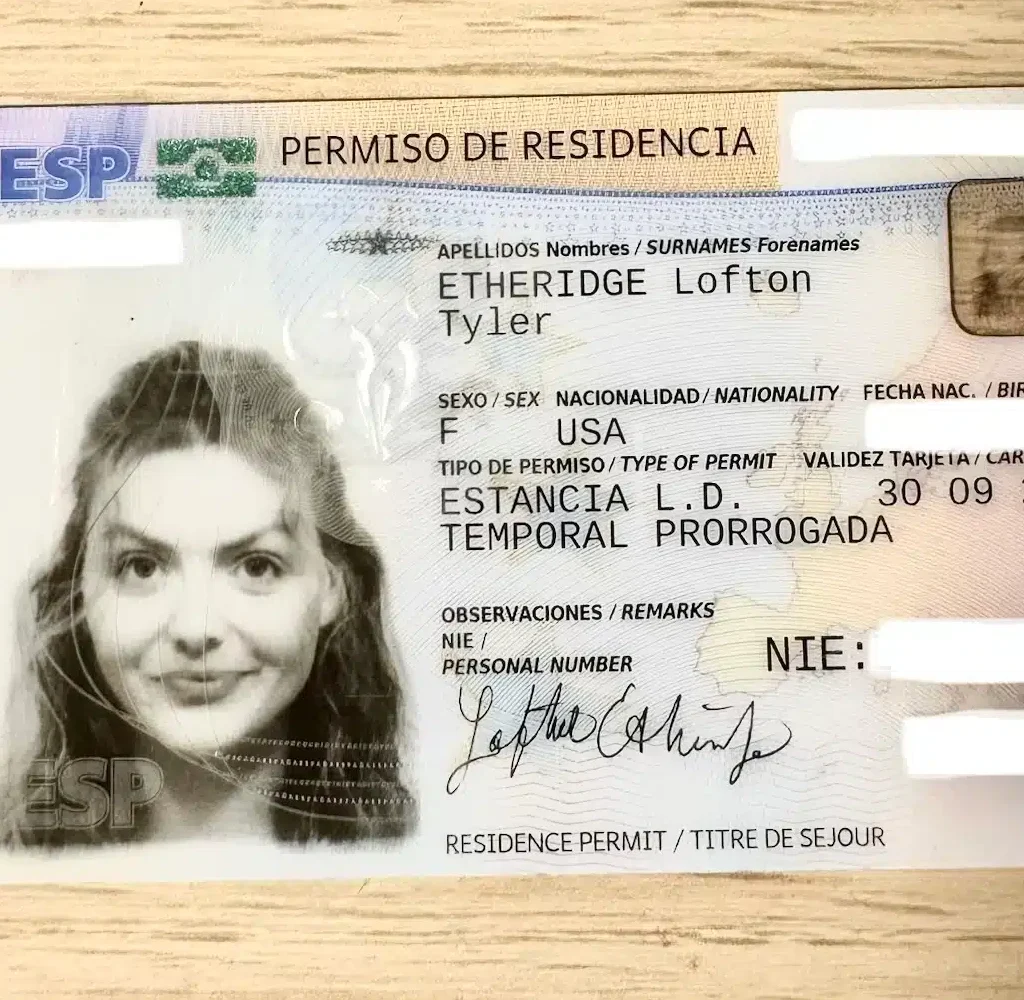

Let’s talk about the TIE. Ah, yes, the little plastic card that proves you exist in Spain. Everyone needs it, nobody enjoys the process, and somehow it always feels like a rite of passage into full adulting abroad. Here’s the good news, though: with Spain’s new immigration changes, (as an auxiliar) your visa is usually valid for a full year now. Which means you don’t need to spiral if you can’t secure your TIE appointment within the first couple of months. Seriously, breathe. You’ve got time. But let’s walk through the process so you know exactly what to expect.
First Things First: The Appointment Is the Boss Fight
Let me be completely honest with you. The hardest part of getting your TIE isn’t the paperwork. It’s not the fingerprinting. It’s not even navigating the language barrier. It’s getting the appointment. Securing your cita previa is basically Spain’s version of the Hunger Games. Slots open at random, disappear instantly, and the website will crash just to keep you humble.
Tip: Check early mornings, random afternoons, and late at night. And don’t be afraid to try every nearby city (or pueblo) if you’re flexible. Once you get that confirmation email, treat it like gold. Screenshot it. Print it.
Links for Different Regions
Choose the province that you currently live in and click “Aceptar.”

Step 2:
Provincia > The same as your previously selected choice.
Oficina > Cualquier oficina
TRÁMITES POLICÍA NACIONAL > “POLICÍA TOMA DE HUELLA (EXPEDICIÓN DE TARJETA), INICIAL, RENOVACIÓN, DUPLICADO…“

After clicking “Aceptar”, you will go to a page that gives information on all the required documents and links to the relevant application forms.
What You’ll Need to Bring
Every province has slightly different requirements because, of course, they do. But in general, expect to need:
-
- Your passport
-
- A copy of ALL your passport pages:
-
- Your visa page
-
- EX-17 form (filled out and signed)
-
- Tasa 790 código 012 (paid beforehand)
-
- Your empadronamiento (sometimes required, sometimes not)
-
- Recent passport-sized photos (foto de carnet)
-
- Your appointment confirmation
Foto de Carnet
The foto de carnet is a professional photo sized 32 x 26 mm, similar to a passport photo. You only need one for your TIE appointment, but honestly, make a few extras just in case. Future-you will be grateful. It usually costs €5 – €7. You can get these photos taken at photo kiosks all over Spain – metro stations, bus stations, supermarkets, or near police stations. Once printed, cut out the individual photos and bring one to your TIE appointment in an envelope or folder.

Passport + Copies + Visa
You’ll need copies of your passport and visa, and yes, it feels pointless, but it’s mandatory. You can make copies at any papelería for around €0.10 per page, or honestly, just use your school’s printer if you have access.
Bring your physical passport plus copies of every single page. Yes, all of them. In most cases, they’ll only ask for your bio page, visa page, and the entry stamp from when you arrived in Spain. But occasionally, they’ll want everything, so it’s better to be overprepared than sent away. If you didn’t get an entry stamp when entering Spain (for example, if you had a layover in another European country before landing here) or if your stamp is faint or missing, bring your flight boarding pass to prove when you legally entered Spain. This usually works, though very rarely, an especially strict official may not accept it.
Declaración de Entrada en Territorio Español (If Applicable)
In that case, you’ll need a Declaración de Entrada en Territorio Español. This declaration must be done in person at a police station or foreigners’ office within 72 hours of entering Spain if you weren’t stamped at the border. Many airports have police stations where this can be handled, making it easiest to do right after arrival if you know you’ll need it. You should be fine, because most flights have indirect flights into Spain. In most cases, no one asks for it at all.
Realistically, you only need it if the official handling your paperwork that day is being extra strict or just not in the best mood. It’s one of those “better to have it and not need it” things, but it’s rarely an issue.
Requirements for: Declaración de Entrada en Territorio Español
-
- Original and a copy of the completed form
-
- Passport and a copy of your passport ID page, alongside a copy of the entry stamp from the Schengen country.
-
- Copy of plane ticket.
To request a Declaración de Entrada en Territorio Español, gather all your required documents and go directly to a police comisaría that handles fronteras. This must be done within 72 hours of arriving in Spain, so don’t wait around thinking you have weeks to deal with it. You don’t.
There’s no official appointment system for this process, which means it’s very normal to just walk in and ask for the document. If you’re told to come back another day or time, that’s frustrating but common. Be polite, patient, and persistent. This document is especially important if your passport was not stamped upon entry or if there’s any confusion about when you entered Spain. While it doesn’t happen often, some officials may deny a TIE application if your passport was stamped before your visa’s official start date or if you can’t clearly prove legal entry. In those cases, you could be required to leave the Schengen area and re-enter to reset your entry properly.
Now, with the EES system, you may no longer need a passport stamp, as the system is moving toward fully digital processing. The EES (Entry/Exit System) was implemented in late 2025, with full use expected in late 2026. So again—don’t stress about the declaration or missing stamps. Spain is modernizing the process, and the digital system is designed to make travel and border procedures smoother for everyone.
Empadronamiento
At your TIE appointment, you might be asked for an empadronamiento, or you might not. Honestly, it’s about a 50/50 situation and depends on your region, the office, and the mood of the person behind the desk; classic Spain. Either way, bring it. It’s one of those “better safe than sorry” documents. Both years as an aux, first in Gandia and then in Alicante, I was asked for this document. It seems to be one of those things that can vary by city, but from my experience, it’s better to assume they’ll want it than hope they won’t.
If you don’t have the certificate yet, you might still be able to move forward by showing proof of your padron appointment, especially if your TIE appointment is scheduled before you’re able to get your empadronamiento. It’s not guaranteed, but it has worked for some people. Moral of the story: get it as soon as you can, but don’t panic if the timing isn’t perfect.
Completed EX-17 Form
Fill out the form completely and sign it. Bring the original plus one copy of the completed and signed form to your appointment. Trust me, having copies saves lives, or at least your sanity.
How to fill it out:
Section 1:
Complete all of your personal information.
Fecha de nacimiento: Your date of birth is written day / month / year (DD/MM/YYYY). Yes, it’s backwards from the U.S.
Sexo:
-
- H – Hombre (Male)
-
- M – Mujer (Female)
Estado civil (Marital status):
-
- S – Soltero/a (Single)
-
- C – Casado/a (Married)
-
- V – Viudo/a (Widowed)
-
- D – Divorciado/a (Divorced)
-
- SP – Separado/a (Separated)
Dirección (Address): Make sure your address includes all relevant details, like building number, floor, apartment, block or staircase (bloque / escalera / piso / puerta, etc.). Basically, if it helps the mail find you, include it. When in doubt, over-explain.

Section 2:
Leave this blank unless you have a legal representative or guardian helping you. Most auxes skip this section.

Section 3:
Fill out your personal details again. This section is mainly for contact and notification purposes. Even though most things are digital, they still want this filled out. Check the box underneath if you consent to receive notifications through Dehú. (optional, but check anyway)

Section 4:
Write your full legal name: first, middle (if you have one), and last. Under tipo de documento, select TARJETA INICIAL, since this is your first TIE card.

Extra tips:
- Use black or blue ink if you’re filling it out by hand.
- Double-check spelling and passport numbers.
- Don’t leave sections blank unless instructed.
- Bring an extra copy just in case someone suddenly asks for it (they will).
Slow, steady, and double-checked wins the TIE race.
Tasa 790-012
Tasa 790-012 is the tax form you must complete and pay before your TIE appointment. This fee covers the processing of your TIE and is absolutely non-negotiable. No receipt = no card. Spain does not play about this one.
First, fill out the form online. Once it’s completed, you’ll need to pay the fee in person at a bank branch or ATM. While some ATMs allow payment, I strongly recommend going inside a bank branch and paying in cash. Spanish banks can be weirdly specific, and paying in person almost guarantees you’ll receive a stamped receipt, which is exactly what you must bring to your TIE appointment as proof of payment. Try to go before 11:00 a.m. Many banks stop handling cash transactions after that time, and showing up at noon can quickly turn into a very on-brand Spanish lesson in patience.
If you have a Spanish bank account, go to your own bank. If you don’t, that’s totally fine. You can still pay in person at most banks, like Santander or BBVA. (N26 users, especially, pay in person at a physical bank.)
 Not all banks accept cash transactions. For example, one Santander location might allow it, but another just a block away might not. To save yourself the hassle, stick to the larger branches, usually the ones in popular neighborhoods; they’re much more likely to handle cash services without issues.
How to fill out the form:
-
- Identificación
Fill out your personal information.
- Identificación

-
- Autoliquidación
Check only the principal box. Nothing else.
- Autoliquidación

-
- Under “Tarjetas de identidad de extranjeros (TIE) y certificados de registro de residentes comunitarios”, select:
TIE que documenta la primera concesión de la autorización de residencia temporal, de estancia o para trabajadores transfronterizos.
- Under “Tarjetas de identidad de extranjeros (TIE) y certificados de registro de residentes comunitarios”, select:

-
- Declarante
Enter your city or town and the date.
- Declarante
-
- Ingreso
Then select en efectivo (cash).
- Ingreso

That’s it. Once finished, download and print the form, and don’t forget to sign it. Bring the printed form and cash to the bank, pay the fee, and make sure they stamp the form before you leave. That stamped paper is gold. Guard it with your life and bring it to your TIE appointment. Do not show up without it. Spain will simply send you home!
The Appointment Itself
Usually, when you arrive, you’ll show your confirmation to the security guard or police officer at the front door. They’ll direct you to the kiosk where you check in and get a number. After that, just wait for your number to be called before heading up. If you don’t speak Spanish, I highly recommend using Google Translate’s live conversation feature, which can make the process much smoother. The time spent here can vary depending on the day, but generally, it shouldn’t take more than 45 minutes (waiting + the actual appointment). Bring all your documents, organized and ready to go, to avoid any delays. Patience is key, and having everything prepared will make the experience a lot less stressful. They will also give you a document (resguardo) that you need to bring to your next appointment to pick up your card. Don’t lose it!
Waiting for the Card
You’ll usually wait about a month before picking up the card. Sometimes longer, sometimes shorter. This is Spain; time is a social construct. Once it’s ready, you’ll either:
-
- Get a text
-
- Get an email
-
- Or just be told to come back in 30-45 days and hope for the best
Pick-up appointments are easier to get, thankfully, and sometimes an appointment is not required!
You can actually check the status of your TIE using your Lote number. Please read this blog as it’s a step-by-step guide on locating this number and tracking your TIE!
Don’t Panic About the First Three Months
This is where people get stressed for no reason. With the new immigration rules (if you received your visa from May 2025 and onwards), your visa is valid for one full year, not 90 days like before. You’re legally allowed to live, work, and travel as long as:
-
- Your visa is valid
-
- You have “MULT” on your visa (which lets you enter/exit freely)
So if you don’t get your TIE appointment in the first few weeks, or even the first few months. It’s fine. You’re covered. You won’t get deported because the website won’t give you a slot. Move at Spain’s pace. It’s slower, but it still gets there. Getting your TIE is honestly one of the most annoying steps of moving to Spain, but it’s not impossible. Once that card hits your hand, though? Pure bliss. You’ll feel just like a local once you have it.
Just remember:
-
- You have time
-
- The appointment is the hardest part
-
- The process is short once you’re actually there
-
- Don’t stress if everything feels slow…
Love always + good luck,
American Girl Meets World