
If you’re planning to live here longer than a hot second, there are two tools you need to get cozy with early on: The Digital Certificate (Certificado Digital) and Autofirma. These are the keys to surviving Spanish admin without crying in a government office hallway. I’m breaking this down the way I wish someone had explained it to me. Calm. Clear. No guesswork.
What Is the Digital Certificate?
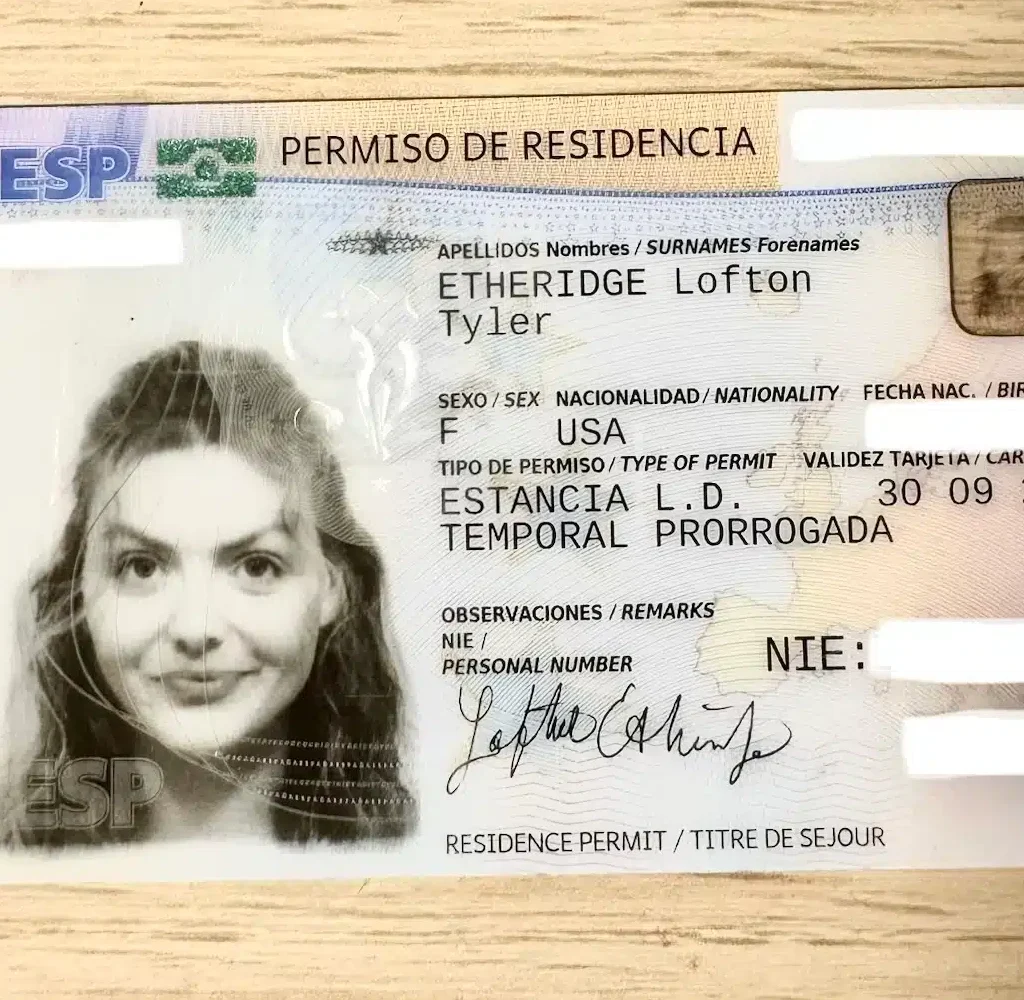
Think of the Digital Certificate as your online identity in Spain. It’s basically your NIE, but digital and way more powerful. It lets you prove who you are on Spanish government websites and complete official procedures without showing up in person.
Once you have it, you can:
- Apply for or renew your TIE or NIE
- File and pay taxes
- Request padrón certificates and official documents
- Check health records, social security info, unemployment benefits, and payment status
- Access almost every Spanish government portal that requires a secure login
If you’re staying in Spain longer than six months, this is not optional. This is essential. There’s no strict deadline to get it, but do yourself a favor and handle it within your first few weeks. The certificate is usually valid for two to three years. Future-you will be very grateful.
What Is Autofirma?
Autofirma is the Digital Certificate’s clingy best friend. It’s a free government software that lets you digitally sign documents using your Digital Certificate. Many Spanish portals will not accept a normal PDF upload. They want the document electronically signed, validated, and officially blessed via Autofirma.
You’ll need it for:
- Education portals
- Government forms
- Anything that says “firma electrónica requerida.”
It’s annoying, but it’s absolutely necessary.
First Things First: Which Digital ID Do You Need?
Spain has two main ways to identify yourself online:
1. Digital Certificate (FNMT)
This is a file you download to your computer. It’s the most powerful option and the one you want if you’re doing anything official.
2. Cl@ve System
This is a PIN or permanent password system. Useful, but limited. Many processes still require the Digital Certificate.
If you’re living in Spain long-term, get the Digital Certificate.
Where to Apply for the Digital Certificate
Once you have your NIE, you apply through the FNMT (Fábrica Nacional de Moneda y Timbre). The process is part online, part very Spain.
Step 1: Install the FNMT Configurator
Before you do anything else, download the FNMT-RCM Configurator. This software generates the key used in your certificate. Choose “Descarga de Software.”

Do not skip this step. You will need to download the proper software to whatever computer system you are using: MAC, Linux, Windows, etc. (https://www.sede.fnmt.gob.es/descargas/descarga-software)
Step 2: Apply Online
Go to the FNMT application page and enter your information, including your NIE.

When you submit the application, you’ll be prompted to create a password. Remember this password. Write it down. If you forget it, you’ll have to start over. After completing this step, FNMT will email you a 9-digit application code.
Step 3: Verify Your Identity (In Person)
If you’re a foreigner, you’ll almost always need to verify your identity in person. Video verification is generally only available to Spanish citizens with a valid DNI.
Bring:
- Your passport
- Your TIE or official NIE document
- Your 9-digit application code
- Any confirmation emails
To book an appointment, search for “OAMR Cita Previa”, select your region, and choose Digital Certificate (FNMT – in person).
or
Use the FNMT office locator tool on their site to find the closest one and book a cita previa (appointment). (https://mapaoficinascert.appspot.com/)
or
Go to the following link and select your region:

Once you click “Aceptar”, you will then be directed to enter your personal details. Once you have filled out your personal information, click “Aceptar” again.

Then select “Solicitar Cita.”

If you go this route, here’s the honest truth: getting an appointment can be hit or miss. Some offices make you book weeks in advance, while others will let you walk right in. It really depends on the city, the specific office, and, honestly, the mood of Spanish bureaucracy that day. If they ask for a “Codigo de la FNMT”, enter the 9-digit code.
For example, when I was in Alicante, I walked straight into a university office building with my passport and was in and out in under ten minutes. No drama with no appointment.
So don’t assume an appointment is always required. It’s often recommended, but not mandatory everywhere. If you’re flexible and willing to try a walk-in, you might get lucky and save yourself a lot of waiting. Worst case, they tell you to book a cita. Best case, you’re done before your coffee gets cold.
The appointment itself is short. They check your ID, confirm your details, and send you on your way.
Step 4: Download Your Certificate
After your appointment, you’ll receive an email with a download link.
Important rules:
- Use the same computer you used to apply
- Enter your information exactly as before
- Choose the option to make your certificate exportable so you can back it up
Once downloaded, save a copy on your computer and a flash drive. Treat it like gold.

Install Autofirma
Download Autofirma from the official government site. If you’re on Windows/MAC, check whether your system is 64-bit before downloading. Install the program from the zipped folder.
How to Figure Out Which Autofirma Version You Need
Before you download Autofirma, you need to know what operating system and processor your computer uses. This takes about 30 seconds. Promise.
Step 1: What kind of computer do you have?
There are only three options:
- Windows
- Mac (macOS)
- Linux
If you already know this, skip ahead. If not, here’s how to check.
If You’re on Windows
- Click the Start menu
- Go to Settings
- Select System
- Click About
Look for: System type
You’ll see something like:
- 64-bit operating system → download Windows 64-bit
- 32-bit operating system → download Windows 32-bit
What to download:
- Version 1.9 for Windows 64-bit (most people)
- Version 1.9 for 32-bit Windows (older machines)
If Autofirma doesn’t work, you can try a previous version (1.8.3), but start with 1.9.
If You’re on a Mac
- Click the Apple icon (top left)
- Select About This Mac. Now check the Processor or Chip.
You’ll see one of these:
- Intel → this is MacOS x64
- Apple M1, M2, M3 → this is MacOS M1 and later
What to download:
- Version 1.9 for macOS x64 processors (Intel Macs)
- Version 1.9 for MacOS M1 and later processors (Apple Silicon)
If a site specifically mentions Java issues, choose the x64 version including Java 11. (HIGHLY RECOMMENDED)
If Autofirma acts possessed, try Version 1.8.4 instead.
If You’re on Linux
You’ll need to know which Linux distribution you’re using.
Common ones:
- Debian
- Fedora
- OpenSUSE
To check:
- Open Settings → About
- Or ask your system admin if this is a shared computer
What to download:
- Version 1.9 for Debian Linux
- Version 1.9 for Fedora Linux
- Version 1.9 for OpenSUSE Linux
If needed, fall back to Version 1.8.3 for your distribution.
Quick Reality Check
- Most people are on Windows 64-bit or Mac M1
- Always try Version 1.9 first
- If Autofirma refuses to cooperate, older versions exist for a reason
Once you download the correct version, install it, restart your computer, and only then try signing documents. Annoying? Yes. Necessary? Unfortunately. Worth it once it works? Absolutely. You’re doing great. Even if Autofirma doesn’t agree yet.
To sign a document, open Autofirma:

- Select or drag in your PDF
- Choose “Firmar”
- Select your FNMT Digital Certificate
- Choose where the signature appears (all pages or one)
- Accept the default style settings
- Check this box so that the signature is visible within the PDF.

7. Save the signed file.
That’s it. You’ve officially entered Spain’s digital inner circle.
Compatibility Warnings (Please Read This Twice)
Mac users:
Spanish government websites and Autofirma do not play nicely with macOS. If you value your sanity, use a Windows computer. Borrow one. Use a school computer. Do not fight this battle.
Browsers:
- Chrome or Edge works best
- Firefox is hit or miss
- Safari is a lost cause
VPNs:
Turn them off. Many Spanish sites are geo-locked and simply won’t load if they think you’re outside Spain.
What to Expect Emotionally
This process can feel outdated, clunky, and mildly chaotic. Things might not work the first time; that’s normal. But once everything is installed and working, life gets easier. Appointments become clicks. Paperwork goes digital. Stress levels drop. Spanish bureaucracy isn’t going anywhere, but once you have your Digital Certificate and Autofirma set up, you’re finally playing the game with cheat codes.
Honestly, it’s really difficult to say what works and what doesn’t when dealing with Spanish government websites, because, well, it’s Spain. For example, I tried submitting my prórroga on my Mac over 20 times. Everything seemed to work until the very end, when I had to sign the document. The page would just keep loading… and loading… only to finally tell me it didn’t work. Frustrating doesn’t even begin to cover it. What saved me was switching to the school’s Windows computer, where my digital certificate was originally downloaded. I completed the entire application in one try.
I do have an older Mac where I made a copy of my digital certificate. On that Mac, I can check for cita previas, make appointments, and even check my prórroga status. But anything that requires Autofirma just doesn’t work reliably on Mac. That’s why my advice is: start with a Windows computer from the very beginning. Trust me, it will save you hours of stress, frustration, and hair-pulling. Spanish bureaucracy is tricky enough; don’t make it harder by fighting with incompatible software.
Whenever you enter a Spanish government website, you’ll usually click “Access with Qualifying Certificate, or Presentación con Cl@ve.”

A pop-up will appear showing details like your full name, sometimes your NIE number, the issuer (usually FNMT or ACCV), and the serial number.

You’ll always select your certificate and click OK. After that, it may prompt you to “make some changes.” Don’t worry, all you need to do is enter your computer’s username and password (the same credentials you use to log into your Mac).

I’m not entirely sure what “changes” it’s actually making, but from my experience, it’s just requesting permission to access the digital certificate. Essentially, you’re telling your Mac, “Yes, it’s okay to use this certificate for the website,” so the process can continue smoothly.
Once you do that, you’re set; the site can securely identify you using your Digital Certificate, and you can proceed with whatever official procedures you need to complete.
If you want to download your Digital certificate on your iPhone, read this! How to Install Your Spanish Digital Certificate on Your iPhone: A Simple Step-by-Step Guide
Love always + good luck,
American Girl Meets World